기본 콘텐츠로 건너뛰기

Strengthens the spine. Sphinx Pose

Sphinx Pose

Sphinx Pose is the infant of backbends. It can be practiced with either an active or passive approach.


Sphinx Pose: Step-by-Step Instructions
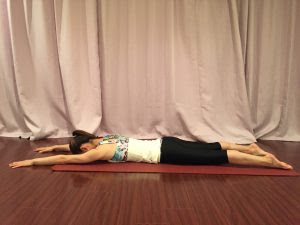
Step 1
Lie on your belly, legs side by side. Firm your tailbone toward your pubis and lengthen it toward your heels. Then, rotate your thighs inwardly by rolling your outer thighs toward the floor. This helps broaden and lengthen your lower back and sacrum (the downward-facing triangular bone at the back of your pelvis) to protect it in a backbend.


Step 2
Reach actively through your toes to the wall behind you. As you move into the pose, be sure to continue lengthening your tail toward your heels to protect your lower back. Your buttocks should be firm but not clenched. While your legs are active, your tongue, eyes, and brain should be quiet.
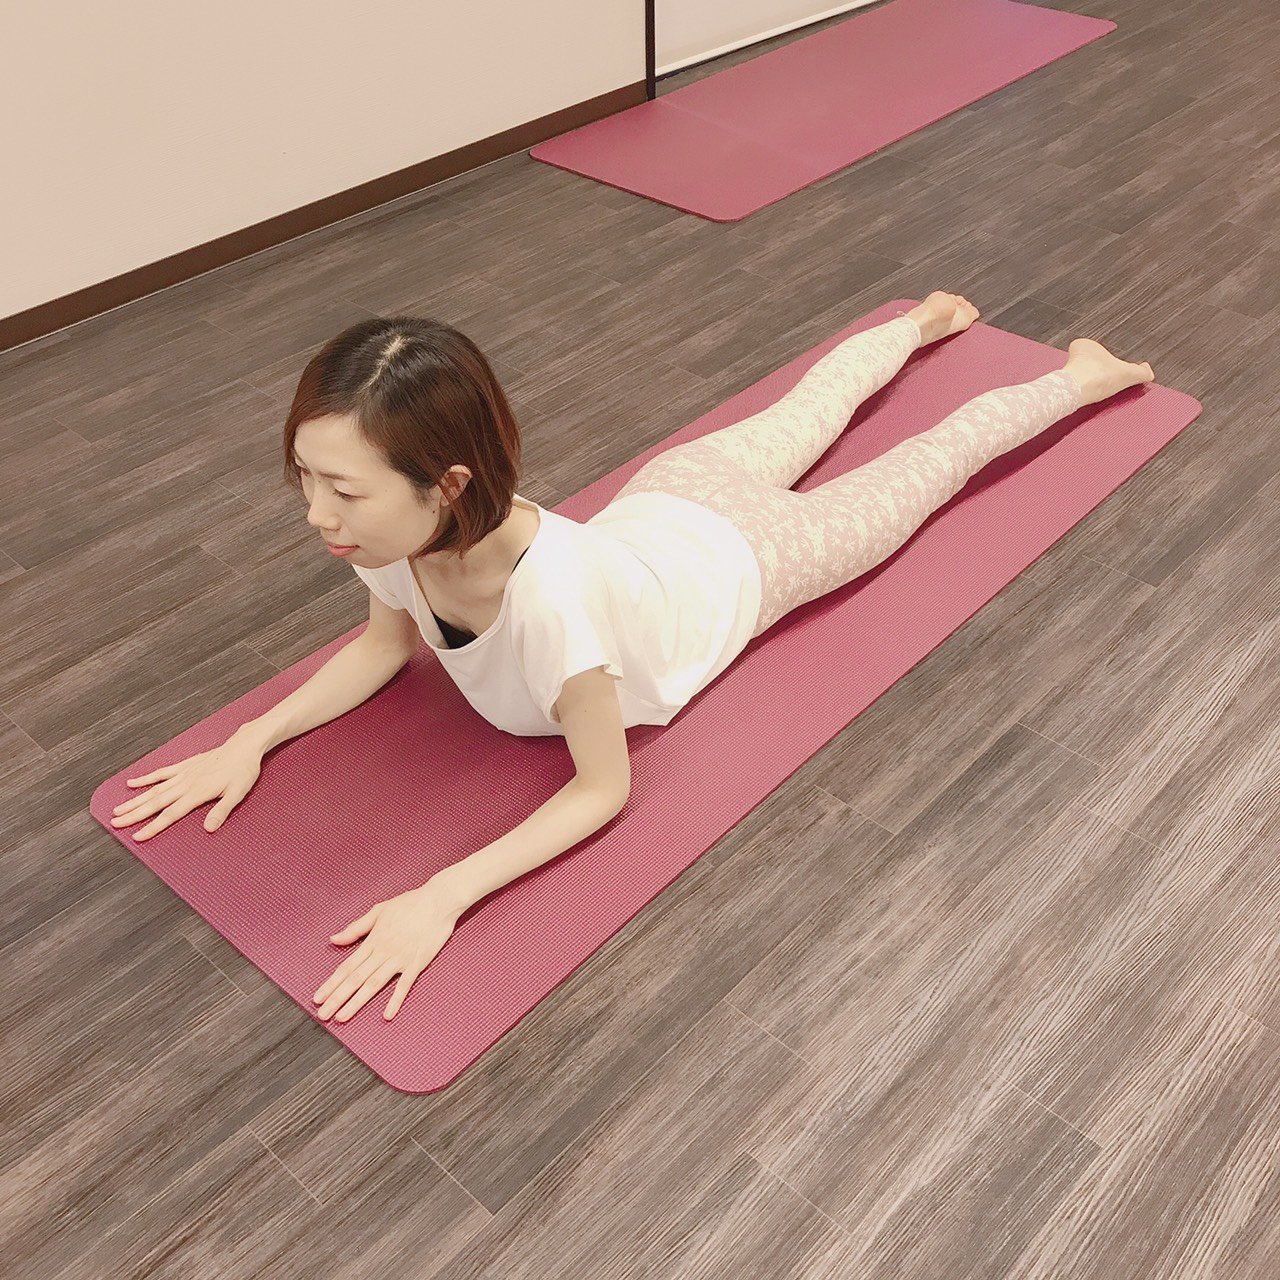

Step 3
Now set your elbows under your shoulders and your forearms on the floor parallel to each other. Inhale and lift your upper torso and head away from the floor into a mild backbend.


Step 4
The final step to building a solid foundation in Sphinx Pose is to bring awareness to your lower belly, the area just above the pubic bone and below the navel. Lightly draw it away from the floor to create a dome that rounds up toward your lower back. This is very subtle—no sucking in, hardening, or rigidity required. This belly lift supports and distributes the curvature of your backbend more evenly along the length of the spine, soothing your lower back and awakening your upper back.


Step 5
Stay for five to 10 breaths, then exhale and slowly release your belly and lower your torso and head to the floor. Turn your head to one side. Lie quietly for a while, broadening your back with each inhale, and releasing any tension with each exhale. Repeat once or twice more if you like.


Beginner's Tip

Roll up a towel and arrange it in a U-shape on the floor. Lie with the bottom of the U just above your pubic bone and the legs of the U under the sides of your belly to help support the belly lift.


Benefits

  • Strengthens the spine
  • Stretches chest and lungs, shoulders, and abdomen
  • Firms the buttocks
  • Stimulates abdominal organs
  • Helps relieve stress

댓글

이 블로그의 인기 게시물

Yoga exercise for digestion, Noose Pose

In the noose pose, the arms are wrapped around the squatting legs and the hands are clasped behind the back, forming a "noose." This position, suitable for intermediate and advanced students, is described in the Full Pose section below. First we'll look at a simpler version of this twist, using the wall as a prop. Noose Pose: Step-by-Step Instructions Step 1 Stand in Tadasana (Mountain Pose) next to a wall with your feet hip-width and parallel to each other. Ideally, you will stand forearm distance from the wall. So, as you stand in Tadasana with the wall on your right side, turn to the right and press your right palm into the wall-from wrist to elbow, your forearm should be parallel to the ground. Adjust your distance to the wall accordingly and turn your torso back to center. Step 2 Bend your knees into a full squat, with your buttocks sitting on your heels. If you're not able to get the heels fully on the floor, squat with the heels raised o...

Yoga exercise for lower back pain. Knees to chest with slow rock pose

Yoga exercise for lower back pain. Knees to chest with slow rock pose The knee to chest pose is a classical yoga asana with therapeutic benefits for lower back pain. When coupled up with a slow rock either side to side or back and forth, it offers a gentle massage to the lower back that helps relieve pain. It also stabilizes and aligns the spine as your release the weight of your body to the ground. Furthermore, it massages the abdominal organs promoting digestion and detoxification – constipation can worsen lower back pain How it to do it Lie on your back with legs extended forward. Draw your knees towards your chest. Interlace your fingers and firmly rest them on your shins, to nudge the knees nearer to your chest. This allows your upper and middle back to ground down and for a deep stretch on the lower back. Hold for 5-10 breaths. Modifications For added comfort, you may place a thin blanket under your neck or ...

Strengthens the arms and wrists. Side Crane (Crow) Pose

The key to Parsva Bakasana is twisting enough to place the outer edge of one upper arm far around the outside of the opposite thigh. Side Crane (Crow) Pose: Step-by-Step Instructions Step 1 Bend your knees to a half-squat, thighs parallel to the floor. If your heels don't rest comfortably on the floor, support them on a thickly folded blanket. Take your left elbow to the outside of your right thigh as you soften your belly. Step 2 Exhaling, twist your torso to the right, bringing your left lower ribs across toward your right thigh as far as you can. Step 3 Slide the back of your left arm down the outside of the right thigh, bringing your outer armpit as close to the outer thigh as you can. Keeping the arm in place, do a slight back bend and draw your right shoulder back to twist your torso more deeply. Step 4 Exhaling each time, repeat these alternating backbending and twisting movements until you reach your maximum rotation. Then slide you...